Few desserts in the world can rival the elegance, richness, and emotional comfort of a well-made chocolate mousse cake. This dessert is more than just a cake—it is an experience. Each slice delivers layers of flavor, texture, and indulgence that appeal to both casual dessert lovers and serious chocolate enthusiasts.
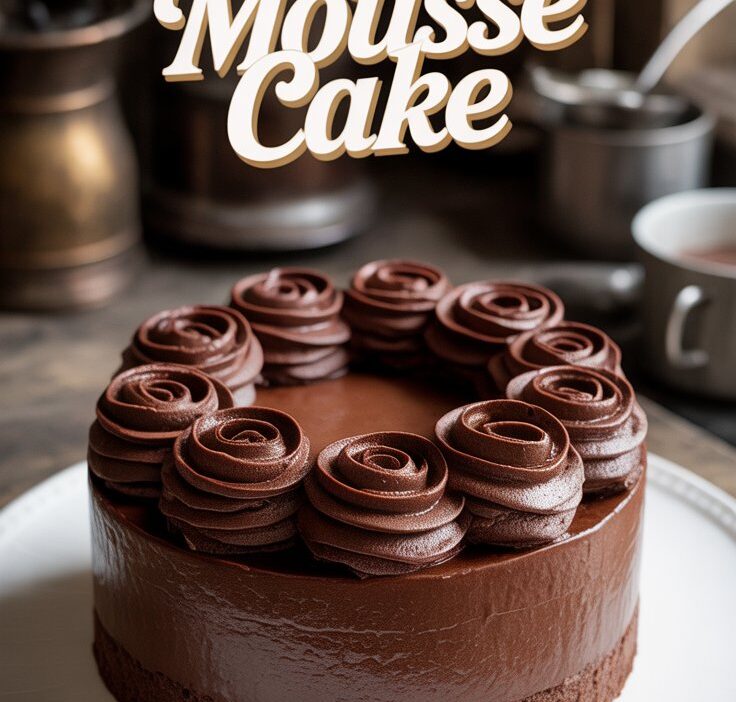
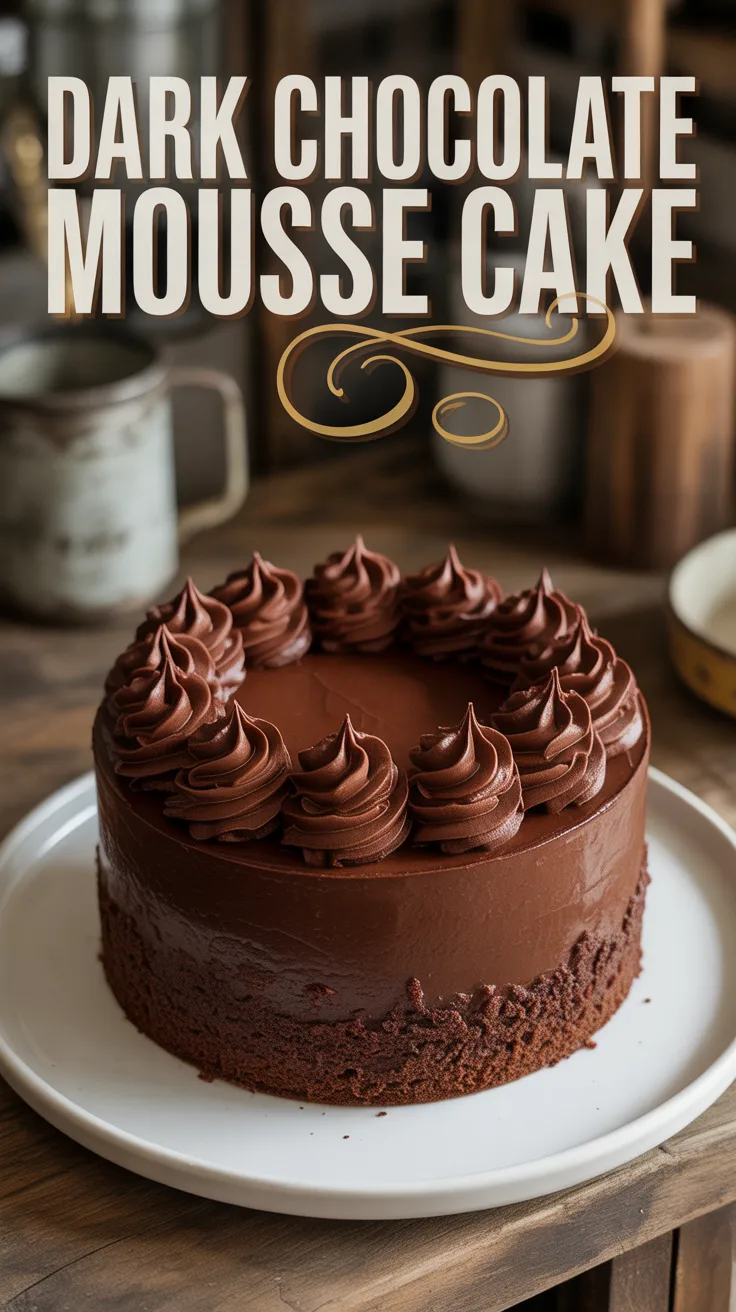
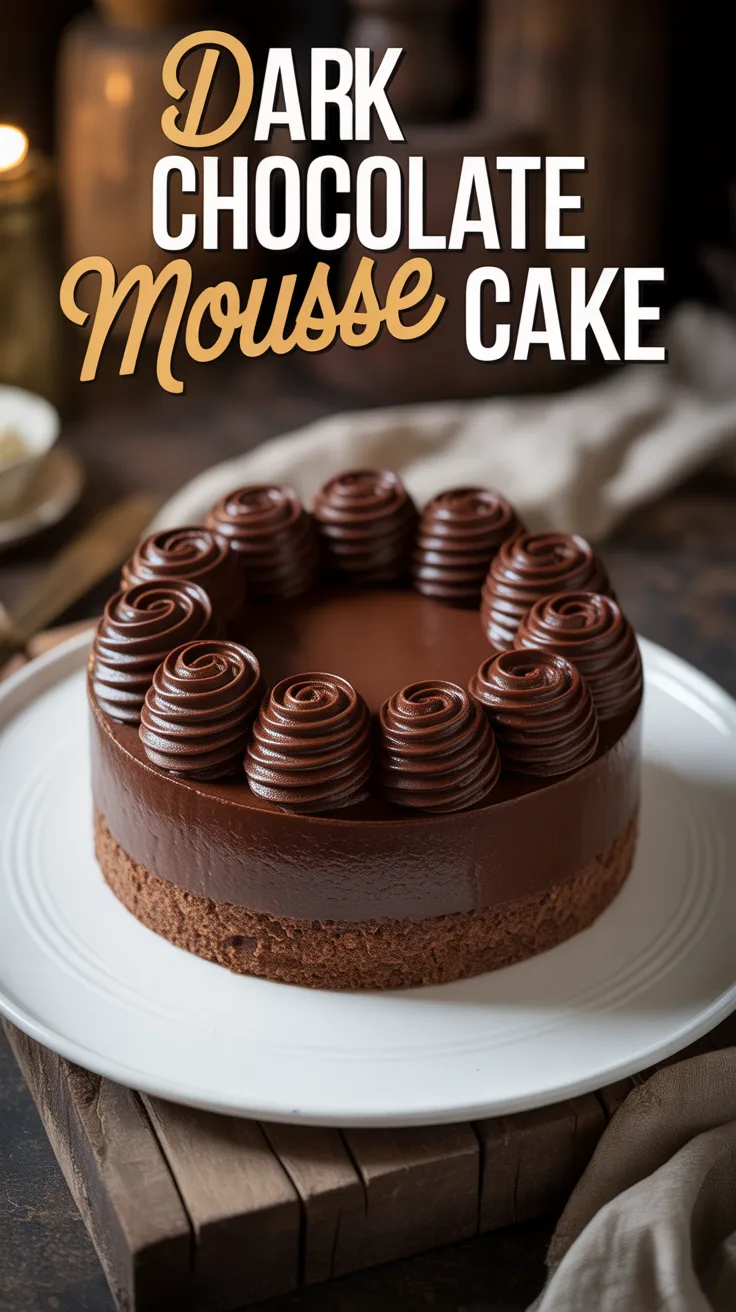
A chocolate mousse cake combines three irresistible elements: a soft and moist chocolate cake base, a light yet creamy chocolate mousse filling, and a smooth, glossy chocolate ganache topping. The balance between richness and lightness is what makes this dessert truly special. Unlike dense chocolate cakes that can feel heavy after a few bites, a mousse cake melts effortlessly in your mouth.
This recipe is designed for home bakers of all skill levels. Whether you are preparing a birthday cake, a holiday dessert, or simply treating yourself, this guide will walk you through every step with clarity and confidence. No professional equipment is required—just patience, quality ingredients, and a love for chocolate.
Throughout this article, you will learn not only how to make a decadent chocolate mousse cake but also why each step matters, how to avoid common mistakes, and how to customize the recipe to suit your taste. The result is a bakery-style dessert made right in your own kitchen.
What Makes Chocolate Mousse Cake So Special?
Chocolate mousse cake stands apart from other chocolate desserts because of its unique structure and texture. It is not simply a cake with frosting; it is a carefully layered dessert that relies on technique and balance.
Key Characteristics of a Chocolate Mousse Cake
- Light texture: The mousse layer is aerated using whipped cream or egg whites, creating a soft, cloud-like consistency.
- Deep chocolate flavor: High-quality dark chocolate provides richness without excessive sweetness.
- Elegant appearance: Clean layers and a glossy ganache finish make it visually impressive.
- Versatility: Suitable for casual dinners, celebrations, and formal events.
Unlike brownies or flour-heavy cakes, chocolate mousse cake feels luxurious without being overwhelming. This makes it ideal for guests who appreciate refined desserts.
Ingredients Overview: Understanding Each Component
One of the biggest mistakes home bakers make is underestimating the importance of ingredients. Chocolate mousse cake relies on simple ingredients, but their quality directly affects the final result.
Chocolate: The Heart of the Recipe
Use dark chocolate with at least 70% cocoa content. This ensures a rich flavor and prevents the cake from becoming overly sweet. Avoid compound chocolate or chocolate chips designed for baking cookies, as they contain stabilizers that affect melting.
Butter
Unsalted butter allows you to control the overall flavor. Butter adds moisture to the cake layers and contributes to a smooth mouthfeel in the mousse.
Sugar
Granulated sugar balances bitterness and enhances the chocolate flavor. The key is moderation—this recipe avoids excessive sweetness.
Eggs
Eggs provide structure, richness, and air. Fresh, room-temperature eggs are essential for achieving a light texture.
Flour
All-purpose flour gives structure to the cake layers. Using too much flour will make the cake dense, so accurate measurement is critical.
Heavy Cream
Heavy cream is used for both the mousse and the ganache. It must be cold for whipping and fresh for the best flavor.
Essential Tools for Success
You do not need professional bakery equipment, but having the right tools will make the process smoother:
- Mixing bowls
- Whisk and spatula
- Electric mixer (optional but helpful)
- Two round cake pans
- Parchment paper
- Offset spatula
- Sharp knife for slicing
Step-by-Step Guide: How to Make Chocolate Mousse Cake
Step 1: Preparing the Cake Pans
Preheat your oven to 350°F (175°C). Grease two round cake pans and line the bottoms with parchment paper. This ensures the cakes release cleanly after baking.
Proper pan preparation prevents sticking and preserves the cake’s shape, which is crucial for clean layers.
Step 2: Melting the Chocolate and Butter
Place chopped dark chocolate and unsalted butter in a heatproof bowl. Set the bowl over a saucepan of gently simmering water. Stir occasionally until fully melted and smooth.
Remove from heat and allow the mixture to cool slightly. This step prevents the eggs from scrambling when added later.
Step 3: Mixing the Wet Ingredients
In a separate bowl, whisk the eggs and sugar until pale and slightly thickened. This process incorporates air, contributing to a lighter cake texture.
Slowly pour the cooled chocolate mixture into the egg mixture while whisking continuously. The result should be glossy and smooth.
Step 4: Incorporating Dry Ingredients
Sift the flour to remove lumps and ensure even mixing. Gently fold the flour into the batter using a spatula. Avoid overmixing, as this can develop gluten and create a dense cake.
Step 5: Baking the Cake Layers
Divide the batter evenly between the prepared pans. Bake for 25–30 minutes, or until a toothpick inserted into the center comes out with a few moist crumbs.
Allow the cakes to cool completely in their pans before removing. Cooling is essential for proper assembly later.
Making the Chocolate Mousse Filling
The mousse is the defining feature of this cake, and its texture depends on gentle handling.
Step 1: Melting the Chocolate
Melt dark chocolate using the same gentle double-boiler method. Allow it to cool to room temperature.
Step 2: Whipping the Cream
In a cold bowl, whip heavy cream until soft peaks form. Do not overwhip, as this can cause graininess.
Step 3: Combining Chocolate and Cream
Fold a small portion of whipped cream into the chocolate to loosen it. Then gently fold in the remaining cream in batches. This preserves air and creates a light mousse.
Refrigerate the mousse for at least 1 hour to set before assembling the cake.
Preparing the Chocolate Ganache
Ganache adds shine, richness, and visual appeal.
Heat heavy cream until it just begins to steam. Pour it over chopped dark chocolate and let it sit for two minutes. Stir gently until smooth and glossy.
Allow the ganache to cool slightly so it thickens but remains pourable.
Assembling the Chocolate Mousse Cake
- Place one cake layer on a serving plate.
- Spread an even layer of chilled chocolate mousse on top.
- Add the second cake layer gently.
- Pour ganache over the top, allowing it to drip naturally down the sides.
Refrigerate the assembled cake for at least 4 hours, preferably overnight, for the best texture and clean slices.
How to Serve Chocolate Mousse Cake
Chocolate mousse cake is best served chilled but not ice-cold. Remove it from the refrigerator about 15 minutes before serving.
Serving Ideas
- Fresh berries for contrast
- Lightly sweetened whipped cream
- Chocolate curls or cocoa powder dusting
Storage and Make-Ahead Tips
Make Ahead
This cake can be made up to 2 days in advance, making it perfect for events and celebrations.
Storage
Store the cake in an airtight container in the refrigerator for 3–4 days.
Freezing
While freezing is possible, it may slightly affect the mousse texture. If freezing, wrap individual slices tightly and thaw slowly in the refrigerator.
Common Mistakes and How to Avoid Them
Overmixing the Batter
Overmixing removes air and creates a dense cake. Always fold gently.
Using Low-Quality Chocolate
Chocolate is the primary flavor. Inferior chocolate leads to a flat, overly sweet dessert.
Skipping Chill Time
Chilling is essential for structure. Rushing this step results in messy layers.
Variations and Customizations
- Espresso chocolate mousse cake: Add espresso powder to enhance chocolate flavor.
- Orange chocolate mousse cake: Add orange zest for a citrus note.
- Gluten-free option: Use a gluten-free flour blend designed for baking.
Nutritional Overview (Per Slice Approximation)
- Calories: Moderate to high (rich dessert)
- Protein: From eggs and cream
- Sugar: Balanced, not excessive
- Fat: From chocolate and cream
Enjoy in moderation as part of a balanced lifestyle.
Frequently Asked Questions
Can I make chocolate mousse cake without eggs?
Yes, egg-free versions are possible using stabilized whipped cream, though texture may vary.
Why is my mousse runny?
The chocolate may have been too warm or the cream under-whipped.
Can I freeze chocolate mousse cake?
Yes, but expect slight texture changes after thawing.
Final Thoughts: Mastering the Perfect Chocolate Mousse Cake
A truly great chocolate mousse cake is the result of patience, quality ingredients, and careful technique. This recipe is designed to guide you confidently from start to finish, ensuring a dessert that looks stunning and tastes unforgettable.
By following this comprehensive guide, you are not just making a cake—you are creating a dessert that brings people together, celebrates special moments, and satisfies even the most serious chocolate cravings.