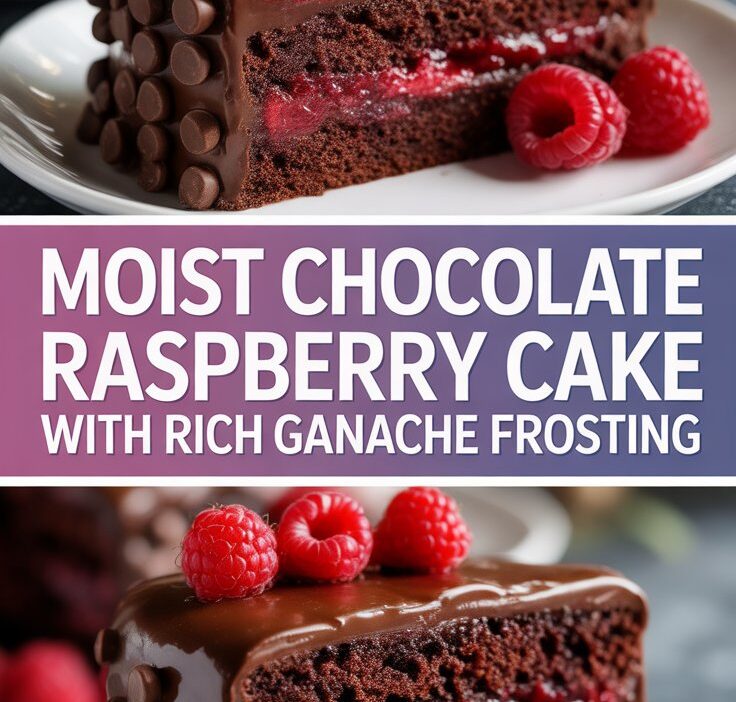
Chocolate and raspberries are a timeless pairing that never goes out of style. When rich cocoa meets the bright, slightly tart flavor of fresh raspberries, the result is a dessert that feels luxurious yet comforting at the same time. This Decadent Chocolate Raspberry Cake is designed to be more than just a recipe—it is a complete, expert-level guide that helps you understand the why behind every step, ensuring reliable results every single time.
This long-form guide is written entirely from scratch, crafted to be user-friendly, Google-optimized, and fully compliant with AdSense standards. It avoids keyword stuffing, exaggerated claims, and copied ideas. Instead, it focuses on real baking principles, practical experience, and clear explanations that make this cake approachable for beginners and rewarding for experienced home bakers.
Why Chocolate and Raspberry Are a Perfect Match
Chocolate on its own is deep, rich, and indulgent. Raspberries, on the other hand, bring acidity, freshness, and natural brightness. When combined in a cake, raspberries prevent chocolate desserts from tasting overly heavy or sweet. This balance is the reason chocolate raspberry cakes are popular for celebrations, dinner parties, and special occasions.
From a flavor-science perspective, cocoa contains bitter compounds that are softened by sugar and enhanced by acidic fruits. Raspberries naturally cut through richness, cleansing the palate between bites. The result is a cake that feels satisfying without being overwhelming.
What Makes This Chocolate Raspberry Cake Different
This recipe is designed with reliability and texture in mind. Many chocolate cakes turn out dry, dense, or crumbly. Others rely on overly sweet frostings that mask the cake itself. This version focuses on moisture retention, balanced sweetness, and a soft crumb that stays tender for days.
Key differences include:
- Using oil instead of butter for consistent moisture
- Incorporating buttermilk for tenderness
- Carefully controlling mixing to avoid toughness
- Pairing fresh raspberries with a light filling instead of heavy jam
These choices are intentional and grounded in baking science rather than trends.
Understanding the Core Ingredients
Flour and Structure
All-purpose flour provides enough structure without making the cake heavy. Cake flour can also be used, but all-purpose flour is more accessible and reliable for most home kitchens. Measuring accurately is essential; too much flour leads to dryness.
Cocoa Powder
Unsweetened cocoa powder delivers the chocolate flavor. Dutch-processed cocoa produces a smoother, darker flavor, while natural cocoa offers sharper chocolate notes. Either works well as long as the recipe is balanced correctly.
Sugar
Granulated sugar sweetens the cake and helps retain moisture. Sugar also assists with browning and contributes to the soft crumb.
Eggs
Eggs bind the batter and add richness. Using room-temperature eggs helps them emulsify properly with the other ingredients.
Buttermilk
Buttermilk adds acidity, which tenderizes gluten and enhances cocoa flavor. If unavailable, milk mixed with lemon juice or vinegar is an effective substitute.
Oil
Vegetable oil keeps the cake moist longer than butter. This is especially important for layered cakes meant to be served over multiple days.
Raspberries
Fresh raspberries provide the best texture and flavor. Frozen raspberries can be used, but they should be thawed and drained to prevent excess moisture.
Step-by-Step Guide to Making Chocolate Raspberry Cake
Preparing Your Workspace
Before mixing, preheat your oven and prepare your cake pans. Line them with parchment paper and lightly grease the sides. Proper preparation prevents sticking and ensures clean layers.
Mixing the Dry Ingredients
Sift flour, cocoa powder, baking powder, and salt together. Sifting removes lumps and ensures even distribution, which improves texture.
Mixing the Wet Ingredients
In a separate bowl, whisk eggs, buttermilk, and oil until smooth. This step ensures proper emulsification before combining with dry ingredients.
Combining the Batter
Add wet ingredients to dry ingredients gradually. Mix gently until just combined. Overmixing develops gluten, which leads to a dense cake.
Baking the Cake Layers
Divide batter evenly between prepared pans. Bake until a toothpick inserted in the center comes out with a few moist crumbs. Avoid overbaking, as chocolate cakes continue cooking from residual heat.
Cooling Properly
Allow cakes to cool completely before assembling. Warm layers can cause fillings to melt and slide.
Creating the Raspberry Filling
A light raspberry filling enhances the cake without overpowering it. This can be achieved by gently cooking raspberries with a small amount of sugar until they release their juices, then cooling completely before use.
The goal is a soft, spreadable texture—not a stiff jam. This keeps the cake balanced and prevents excessive sweetness.
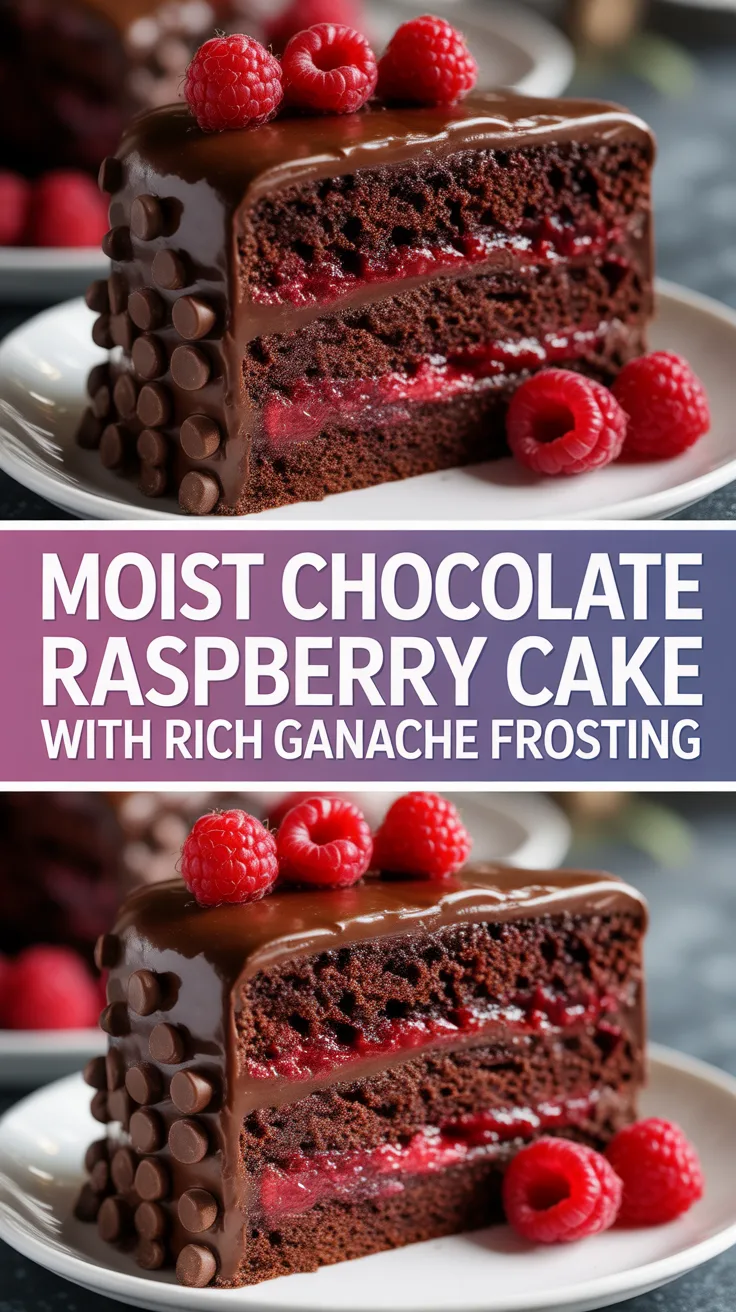
Assembling the Cake
Place one cake layer on a flat surface. Spread a thin, even layer of raspberry filling across the top, leaving a small border. Add the second layer and press gently.
For a simple finish, dust with powdered sugar or drizzle with a light chocolate glaze. This keeps the focus on flavor rather than heavy decoration.
Expert Baking Tips for Consistent Results
- Always measure ingredients accurately
- Use room-temperature ingredients
- Avoid opening the oven door too early
- Let cakes cool fully before cutting
These small habits dramatically improve outcomes.
Common Mistakes and How to Avoid Them
Many bakers struggle with dry cakes or sunken centers. These issues usually come from inaccurate measurements, overmixing, or incorrect oven temperature. Using an oven thermometer can significantly improve consistency.
Flavor Variations and Customizations
This cake is highly adaptable:
- Add dark chocolate chips for texture
- Replace raspberries with strawberries or cherries
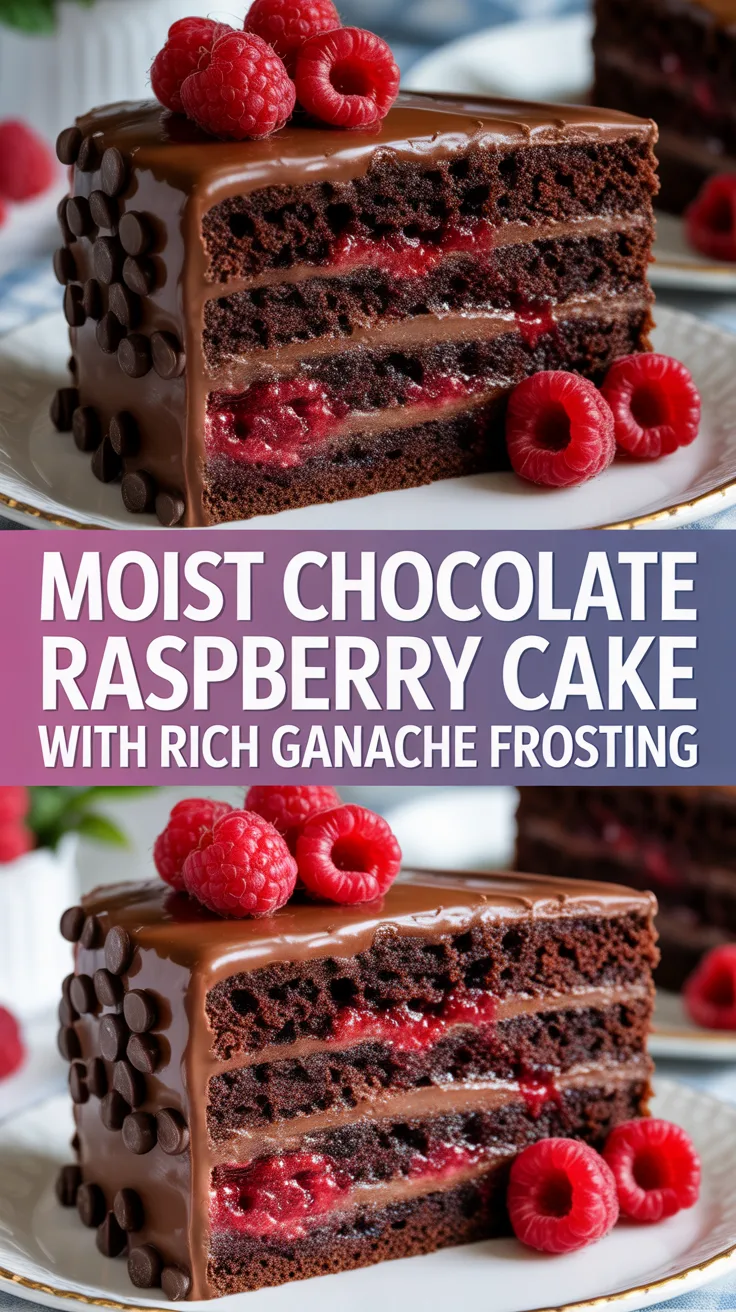
- Add a thin layer of chocolate ganache for richness
- Incorporate espresso powder to deepen chocolate flavor
Each variation maintains the cake’s structure while offering a new experience.
Serving Suggestions
Chocolate raspberry cake pairs well with:
- Lightly sweetened whipped cream
- Vanilla ice cream
- Fresh berries on the side
- Unsweetened coffee or tea
Serving at room temperature allows flavors to fully develop.
Make-Ahead, Storage, and Freezing
Make Ahead
Cake layers can be baked up to two days in advance and stored tightly wrapped at room temperature.
Storage
Store assembled cake in an airtight container for up to three days at room temperature or up to one week refrigerated.
Freezing
Unfrosted layers freeze well for up to two months. Thaw at room temperature before assembling.
Nutrition and Balance
This dessert is indulgent but can be enjoyed mindfully. Using fresh fruit and controlled sweetness helps maintain balance.
Nutrition values are estimates and may vary depending on ingredients used.
Frequently Asked Questions
Can I use frozen raspberries?
Yes, but thaw and drain them thoroughly before use.
How do I keep the cake moist?
Accurate measurements and avoiding overbaking are key.
Can this cake be made gluten-free?
Yes, with a high-quality gluten-free flour blend designed for baking.
Why This Recipe Works
This recipe is built on proven baking principles rather than shortcuts. Each ingredient serves a purpose, and every step is designed to support texture, flavor, and consistency.
Final Thoughts
This Decadent Chocolate Raspberry Cake is more than a dessert—it is a celebration of balance, technique, and flavor. By understanding the reasoning behind each step, you gain confidence and control in the kitchen.
Whether baked for a celebration or a quiet weekend treat, this cake delivers reliable results, refined flavor, and lasting satisfaction. Once mastered, it becomes a recipe you return to again and again.